ESXI 6.5 Install Using FTP Server KickStart Script
This post is about installing ESXI 6.5 using a KickStart script. Specifically we will use a KickStart script located on an FTP server. The goal here is to configure basic ESXI host information like root password, Hostname, IP Address, and DNS Server information without having to manually enter the information post install. We will perform the following steps…
- Setup a basic FTP Server on Windows. ( In my example I am using FileZilla )
- Build a Custom KickStart Script
- Install ESXI 6.5 and point the install to our FTP server for the KickStart File.
Install FTP Server
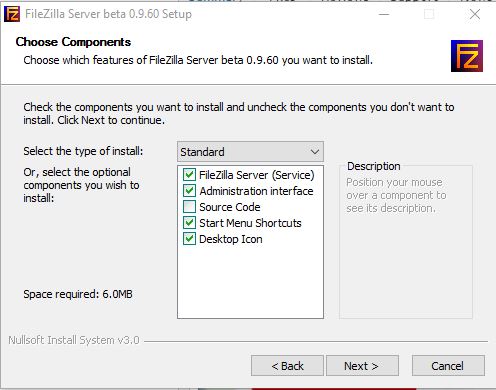
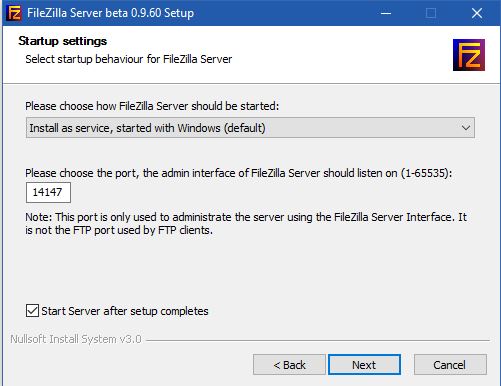
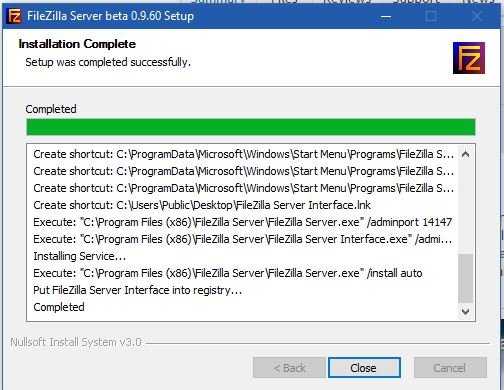
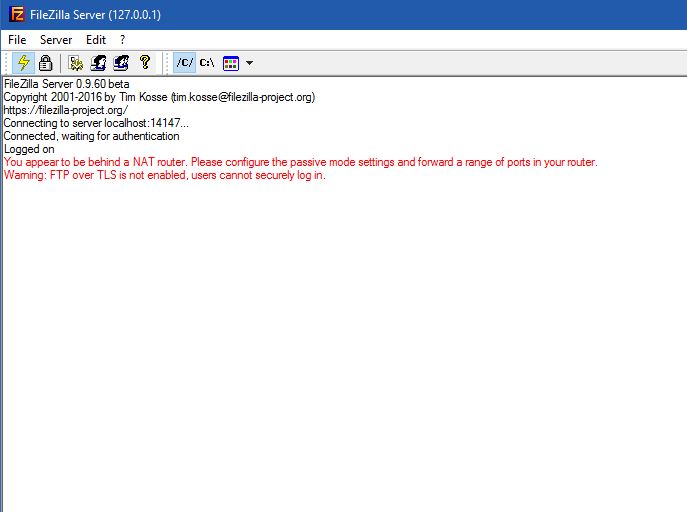
1. In this example, I just downloaded and installed the FileZilla Server on a Windows 10 desktop, using all of the default options.
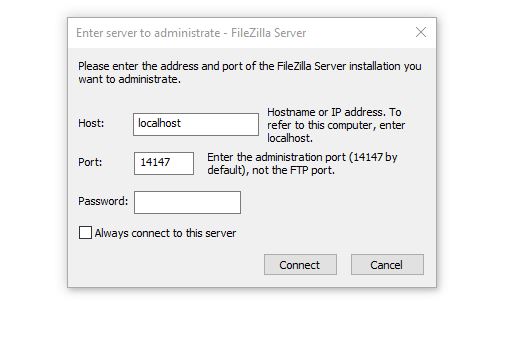
2. Connect to your FileZilla Server. Just leave defaults and click “Connect”.
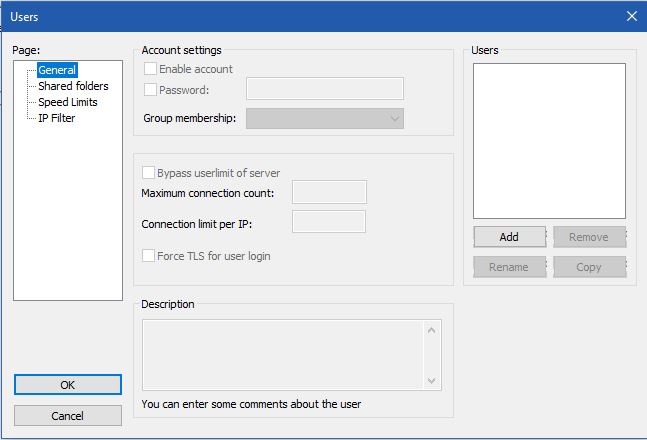
3. Click the “Edit” tab and select “Users”.
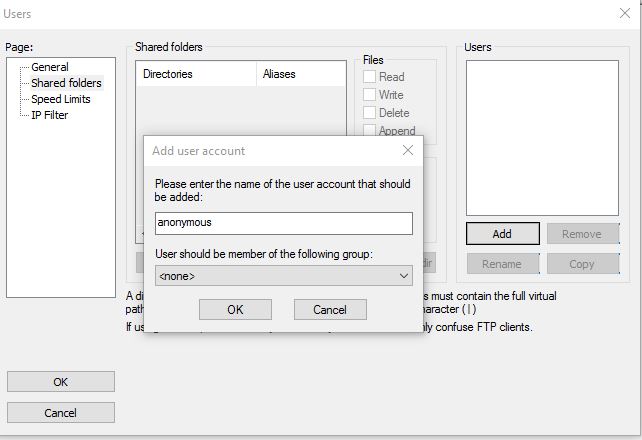
4. Click “Shared folders” Click “Add” under Users. We are setting up the FTP server for anonymous access, so we will just add the user “anonymous” to the server. Click “OK”.
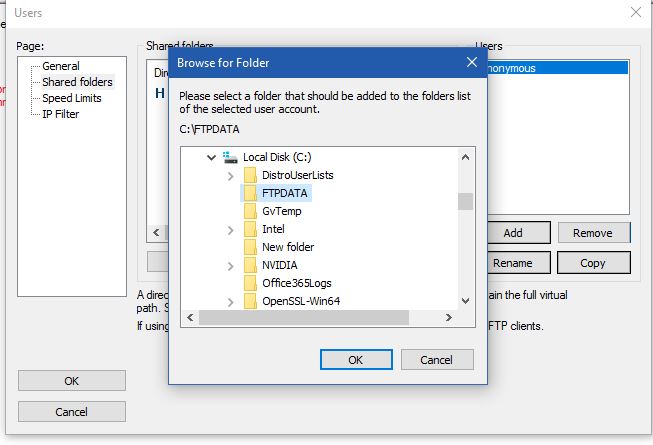
5. Next click “Add” and browse to the folder on your desktop/server that will hold your KickStart script. I’ve already created a folder called “FTPDATA” for this task that I will be using. Click “OK” after selecting the proper folder. Click “OK” again to close the Users menu.
6. This completes the setup of the FTP server. Please note, when installing on Windows 10 and 7 I had to disable my Windows Firewall for this to work. If you run into issues connecting, this will probably solve the issue.
Build KickStart Script
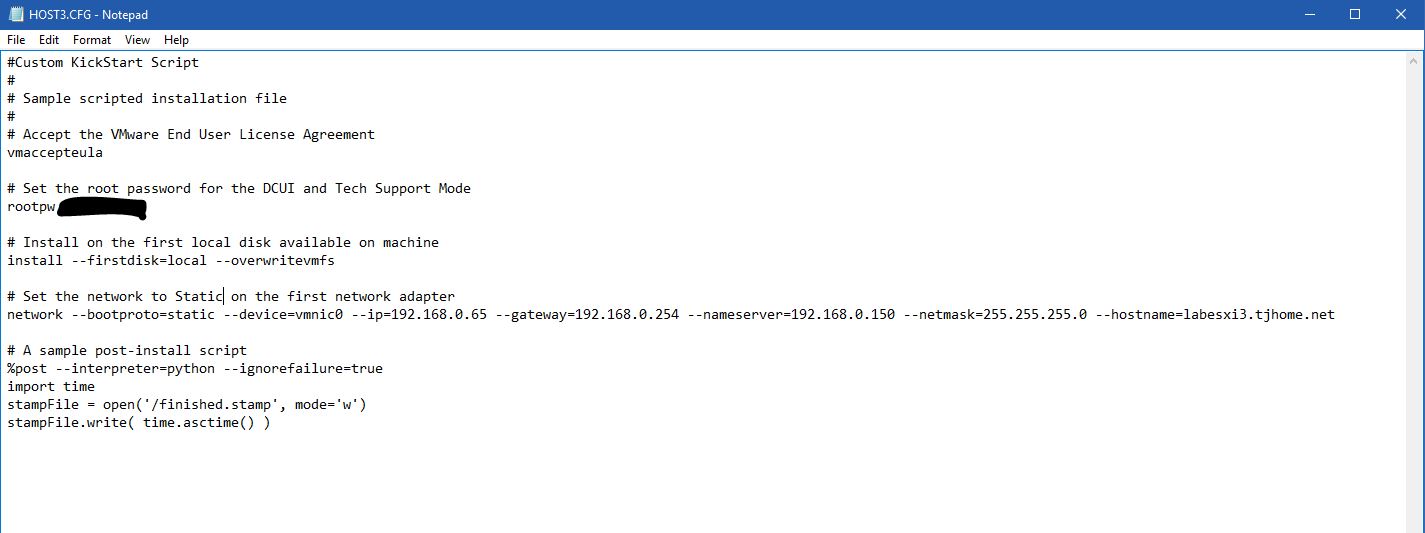
7. In this example, I’ve placed my KickStart file in the FTPDATA folder. My Kickstart file is “HOST3.CFG”

8. Now let’s take a look at our KickStart File. In this example we set the root password, using the rootpw paramater. We install on the first local disk drive on the ESXI host. We are setting the management IP Address to 192.168.0.65 on vmnic0, with a DNS server of 192.168.0.150. The ESXI host name is labesxi3.tjhome.net. This KickStart script is a modified version of the default kick start script provided by VMware. More parameters may be necessary for your environment, such as specifying VLAN information for the management IP. See the following link from VMware’s website for a full list of parameters that can be included in the KickStart Script. Deploying ESXI 5.x using the Scripted Install feature. Make the changes necessary for your environment and close and save the script.
Install ESXI and point to FTP server for KickStart Script.
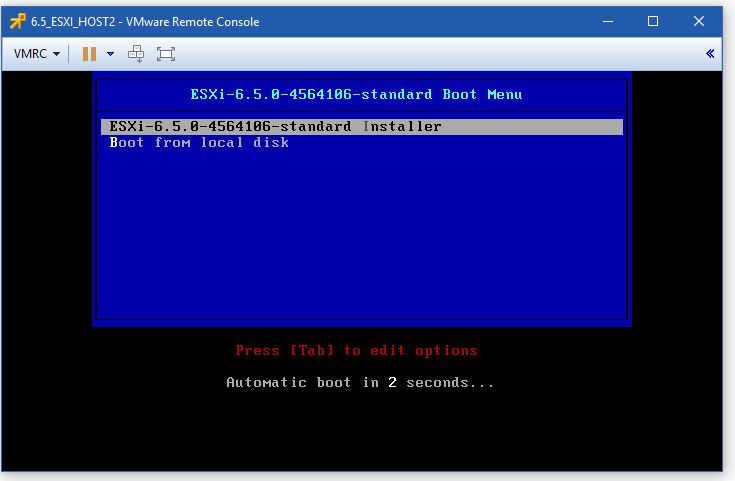
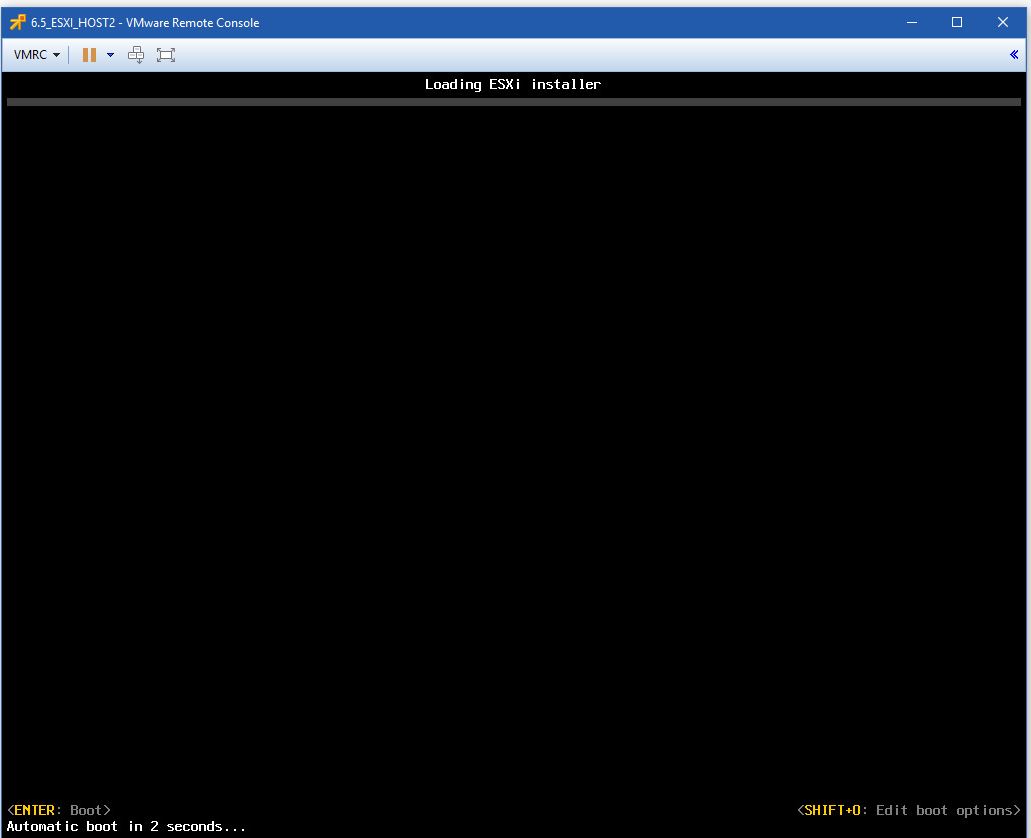
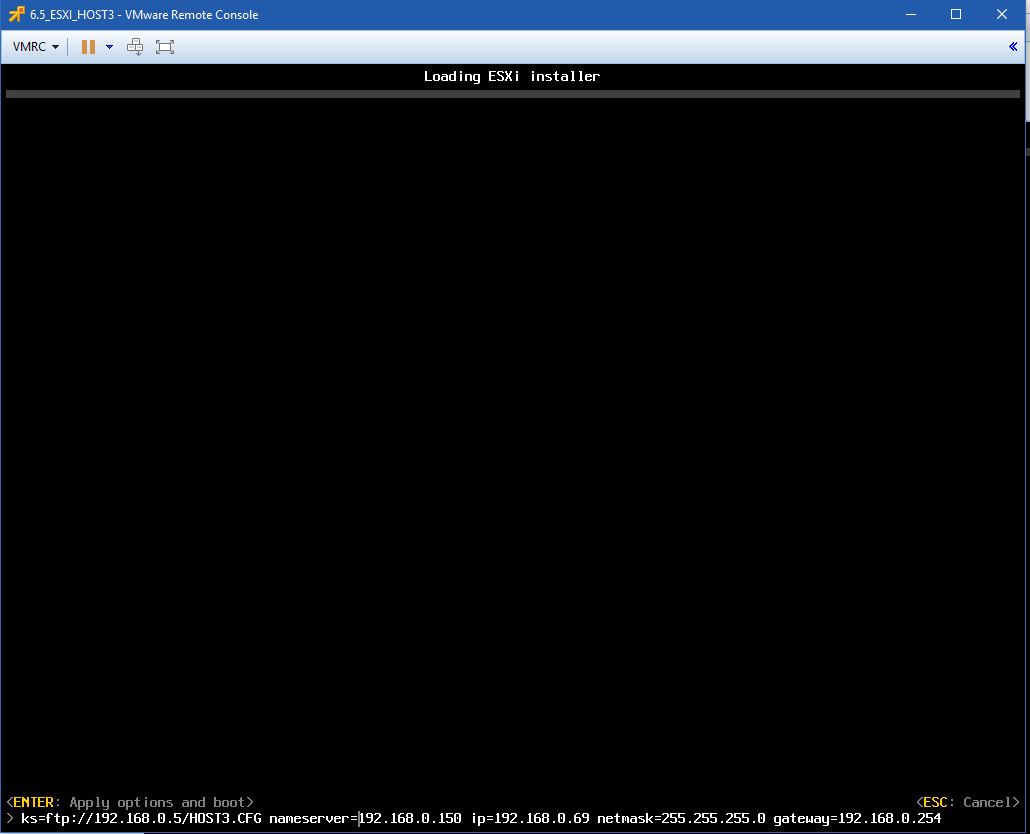
9. Boot from your installation media to Install ESXI. Immediately after the ESXI….standard Boot Menu screen( first blue screen) you will see the “Loading ESXi Installer” screen. Press “SHIFT+O”.
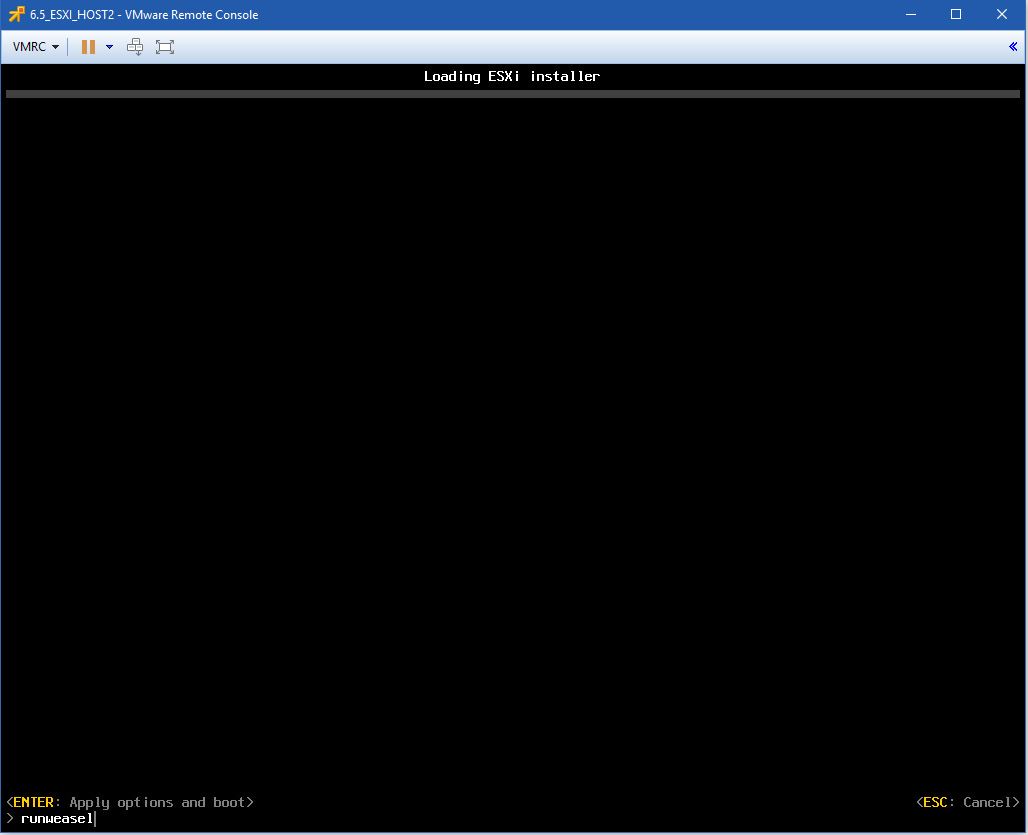
10. Clear the “runweasel” text from the screen and then run the following command. “ks=ftp://192.168.0.5/HOST3.CFG nameserver=192.168.0.150 ip=192.168.0.69 netmask=255.255.255.0 gateway=192.168.0.254″ The first IP is the IP address of your FTP server. NameServer is your DNS server. The IP address information that is specified after name server is any available IP address on your network. Remember, this is not the IP address that we are assigning to the host. This is just a temporary IP address that allows our Host to talk to our KickStart Server. After you’ve specified your KickStart server information. Press “Enter” to continue.
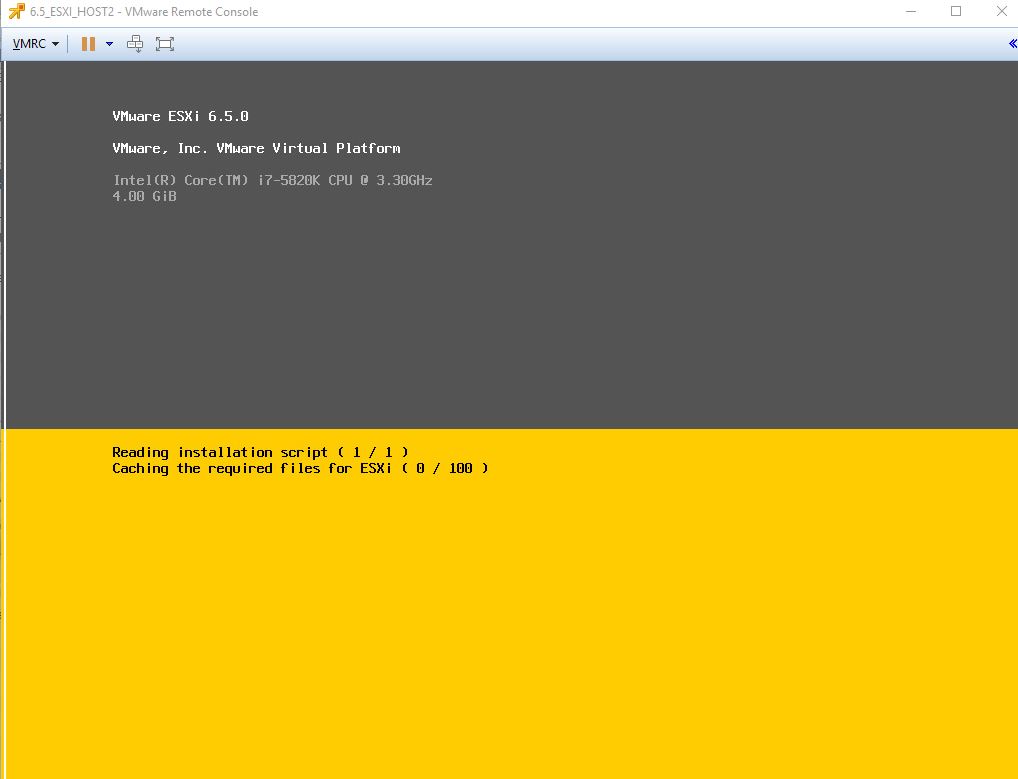
11. The ESXI installation will start.
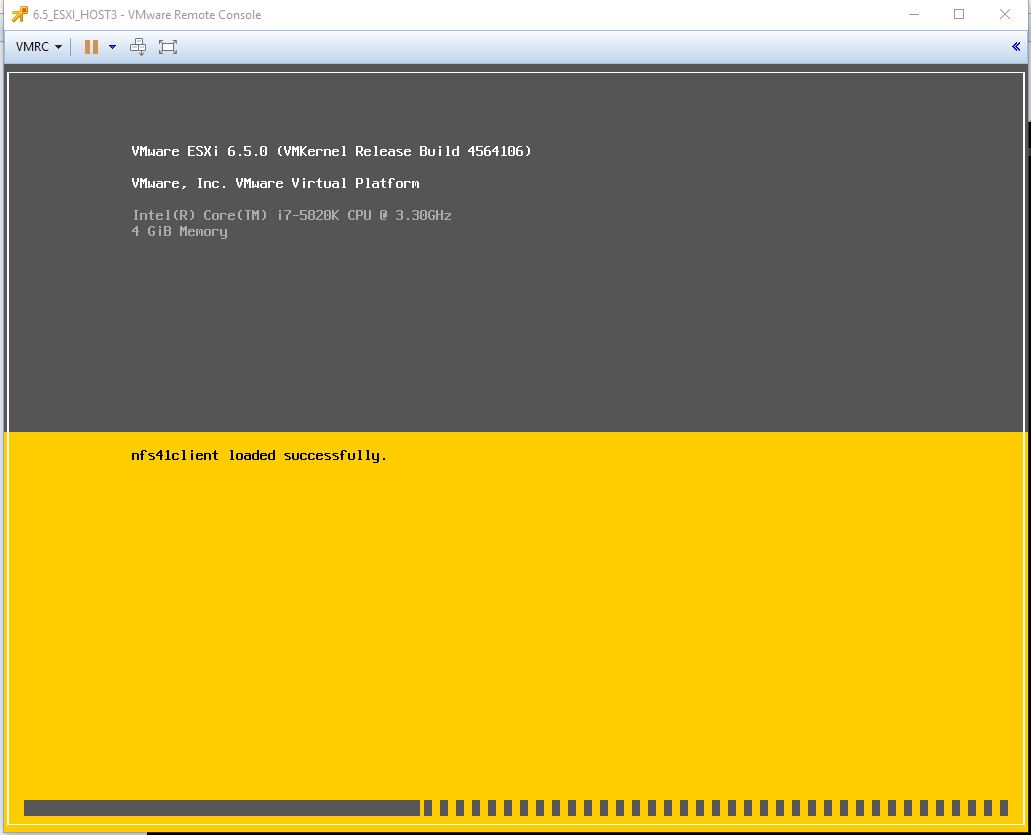
12. You will get a screen showing “Reading Installation Script”. This is starting the scripted installation.
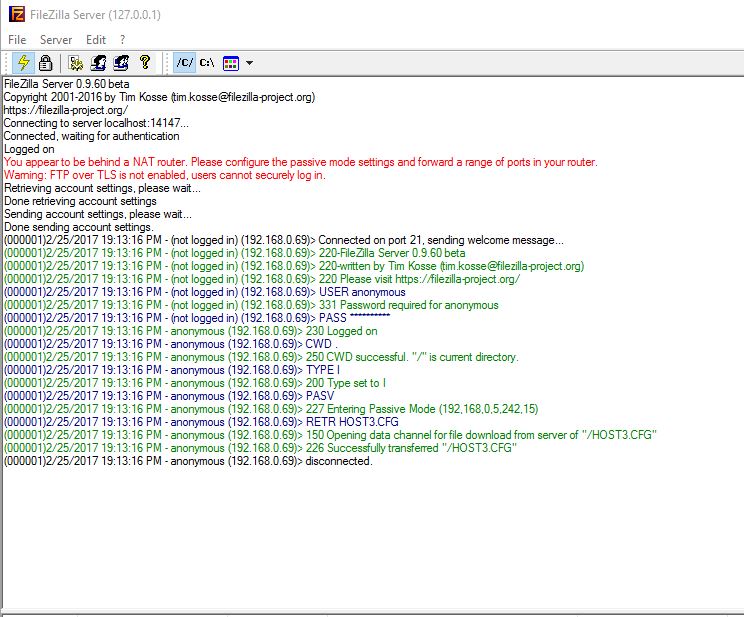
13. You can also look at the FTP Server and see the Install process.
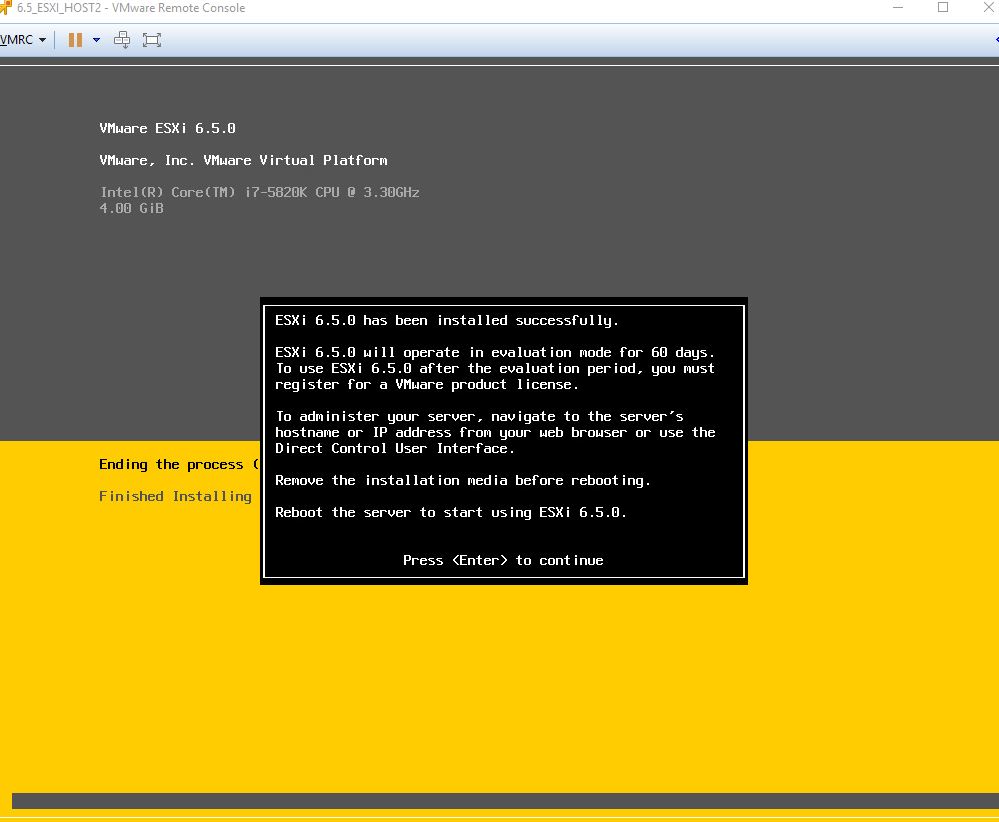
14. After a successful install you should get the following screen. Press “Enter” to reboot your host.
15. After a reboot, we can now see that our host is configured with a name and IP address.
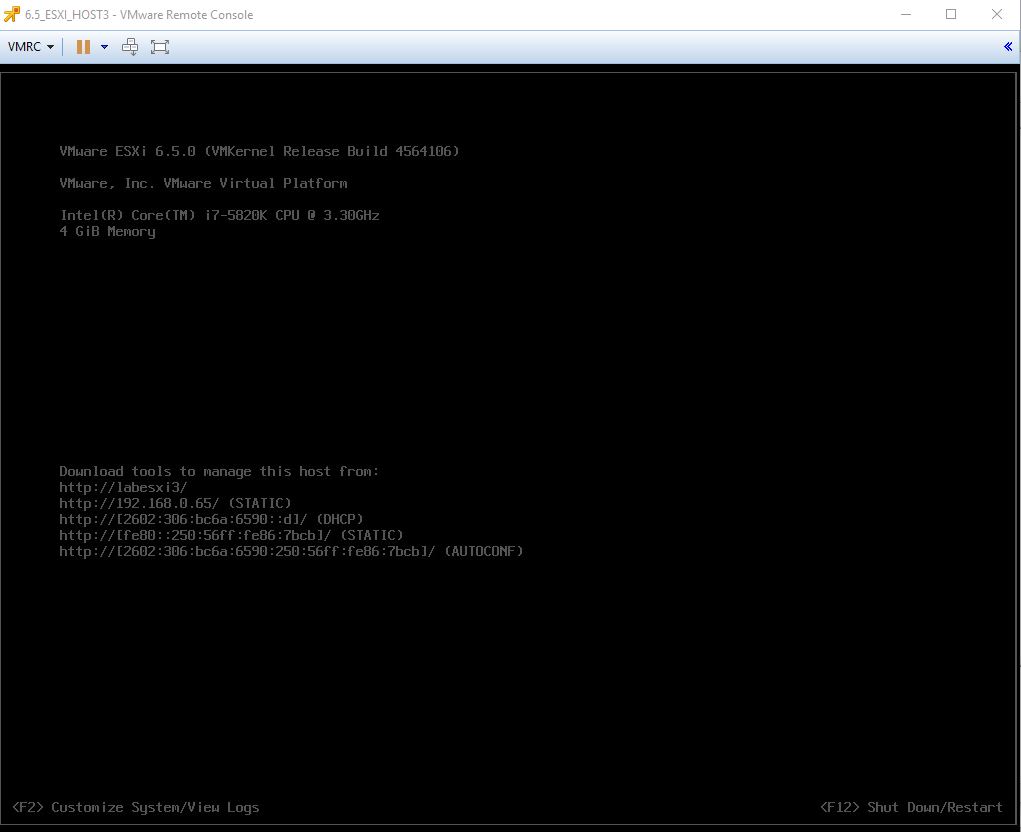
16. If the network is setup correctly, we can go directly to the vSphere client of this Host without ever having to manually configure any of the host information through the DCUI.

So this concludes this post on setting up a scripted ESXI installation using FTP. So what does this give us? We still have to run the command to point the ESXI host to the FTP server, so it’s not a complete unattended install. In future posts I will show how to perform a complete unattended install, by creating a custom ESXI iso, that points directly to the kickstart script. However, using the method shown here, we could kick off multiple ESXI installs, using different files on our FTP server for configuration information. So while there is still a manual step involved, this still prevents the need to click through an assortment of menus post-install to get everything up and running. And of course every second counts right. 🙂 So at this point, we have a basic ESXI host configuration. Stay tuned to the next post where I will use powerCLI to automated a full host configuration, with multiple vswitches, vmkernal ports, and other host specific information. If your VMware licensing don’t allow you to use Host Profiles, this could save you countless hours of work. Thanks for reading.