In the previous post, we deployed the ESXI 6.5 Hypervisor. Now we will deploy our first vCenter 6.5 appliance. Ideally, we will want to do a little preparation prior to starting the process. ( Please note, in this example, we are installing vCenter with an embedded platform services controller. An embedded platform services controller do not support enhanced linked mode for vCenters or platform services controller replication. If you require these features you will want to deploy vCenter with an external platform services controller, and I will outline this process in future posts. ) The install process prompts you with a list of questions about your appliance. I’ve taken the liberty of creating a spreadsheet that you can you fill out prior to deployment. I think this is especially useful for consultants that are performing deployments for customers and can send this out as a “pre-install” document. So please fill out the spreadsheet prior to deployment for a smoother experience. This spreadsheet was based off of the information provide in the “vSphere Installation and Setup Guide“, from VMware.
VCenter_EmbeddedPSC_Questionnaire
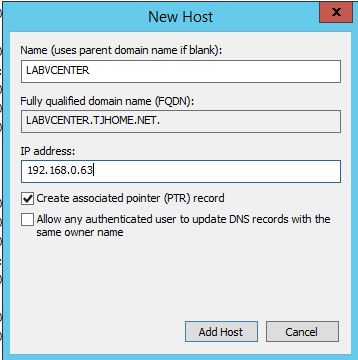
1. One sure way to get an easy fail on your first vCenter appliance deployment is to not have a DNS record created for the appliance. So the first critical step is to create a DNS record for the vCenter Appliance on your DNS server. I showed how to create a DNS record on a Windows 2012 R2 DNS server in the previous post so I won’t go over it in detail here. I will just show a screenshot of the record being created. As you can see my DNS record is “LABVCENTER.TJHOME.NET” for the hostname.
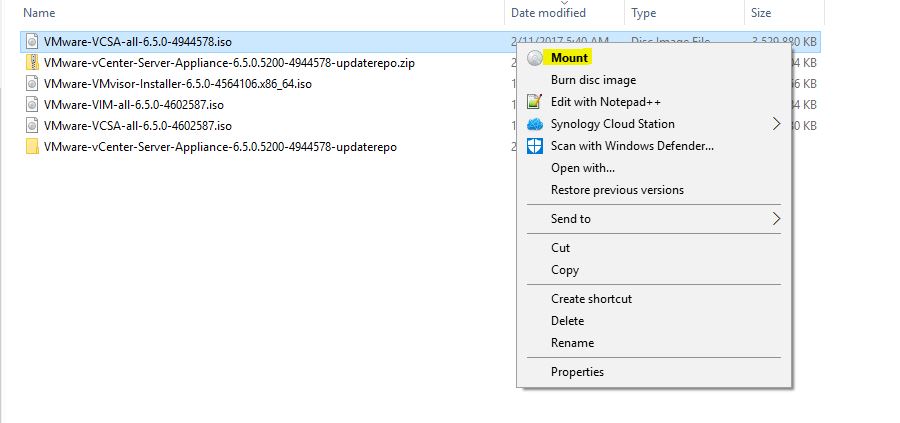
2. Ok, now on to vCenter Server Appliance deployment. If you haven’t already, you will want to download the VMware vCenter Server Appliance from the VMware website. In this example, I will be deploying the vCenter appliance with a standard Windows 10 desktop. Once the .iso file is downloaded, “right click” on the .iso image file and choose the “Mount” option to mount the .iso to your Windows 10 client machine.
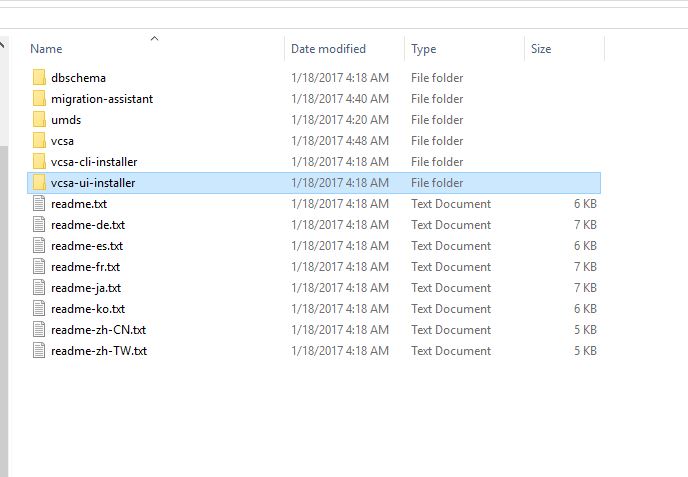
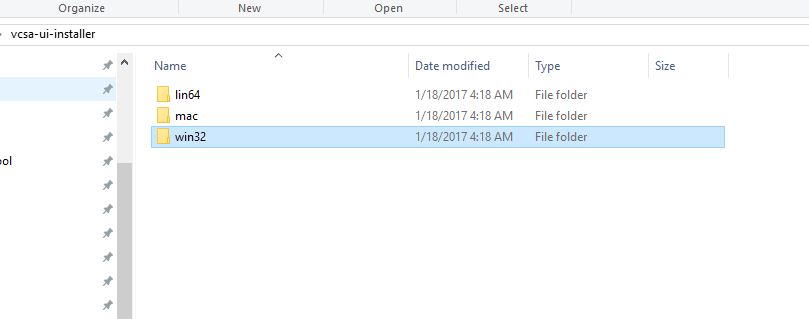
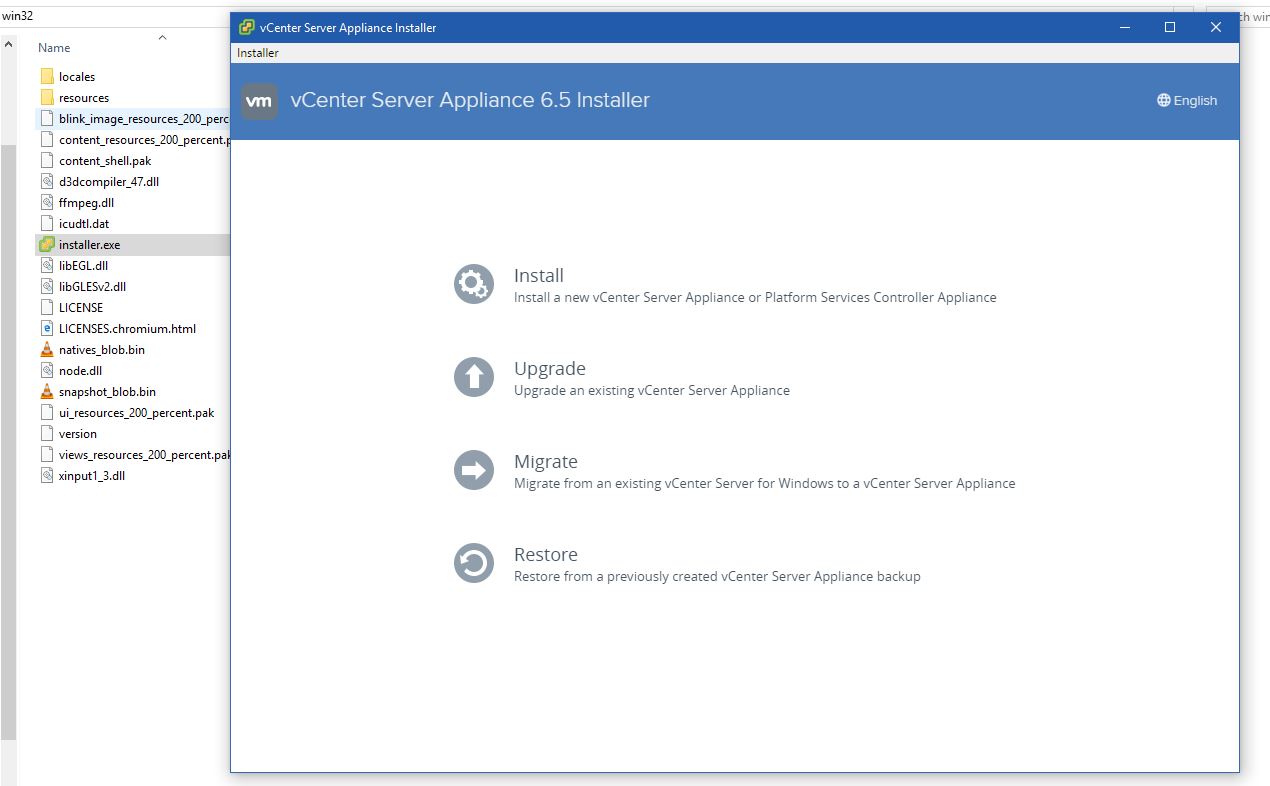
3. With the .iso file mounted, browse to the “vcsa-ui-installer” folder. Since we are installing from a Windows machine, browse to the “win32” directory. Double click the “installer.exe” file. You will see the vCenter Server Appliance 6.5 Installer page.
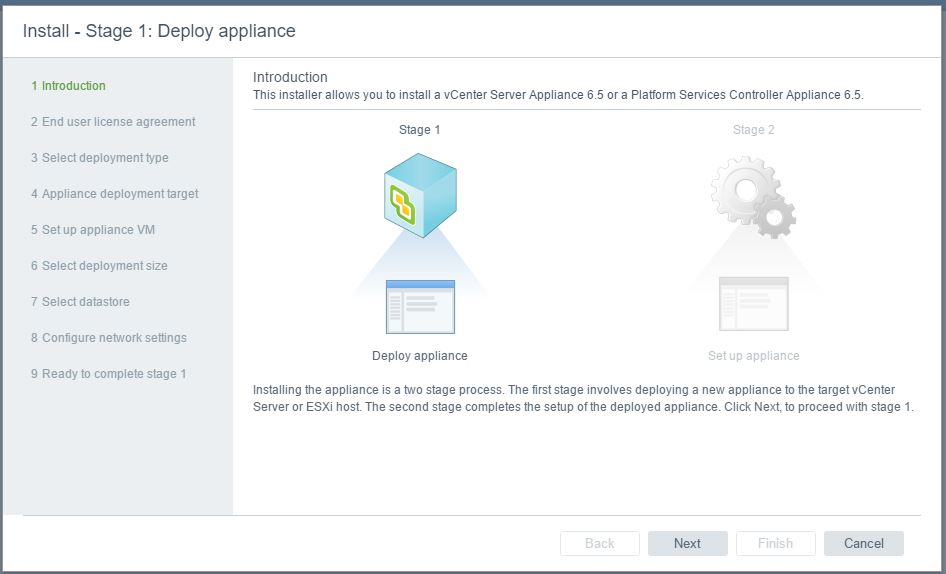
4. Click the “Install” icon. You will be prompted with the “Deploy Appliance” Introduction page. Click “Next.”
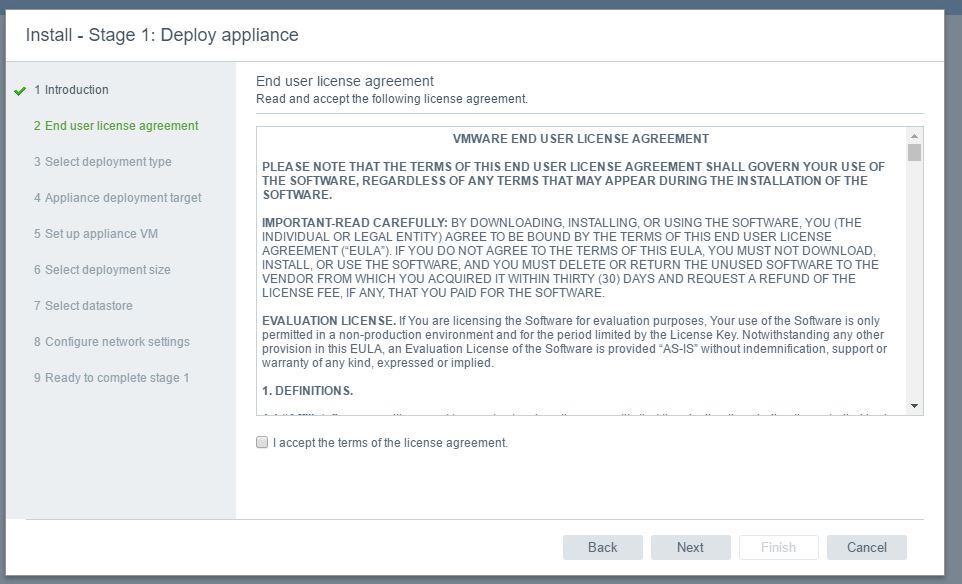
5. “Check” the box to accept the license agreement. Click “Next”
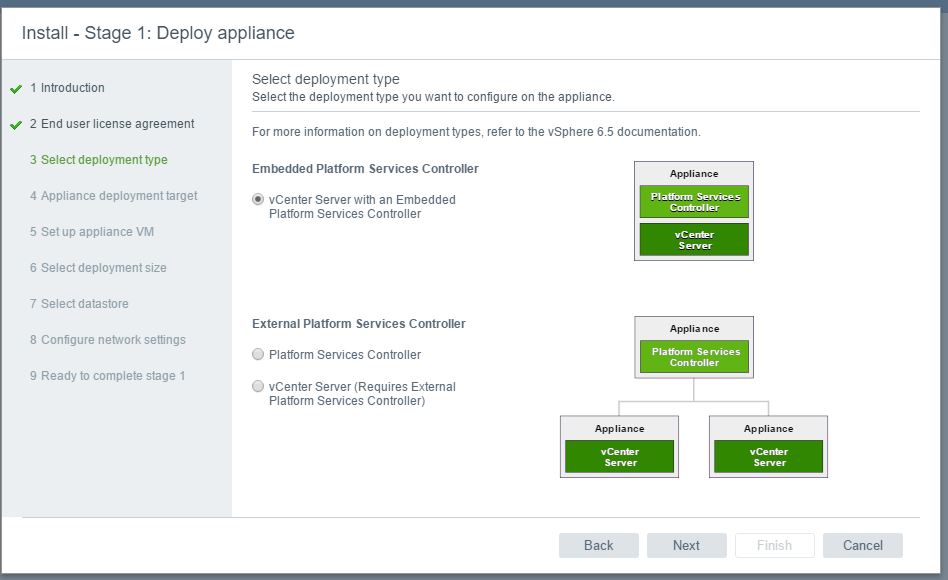
6. On the next screen we are given the option to select the deployment type. In this example we will go with the default option “vCenter Server with an Embedded Platform Services Controller.” (Remember if you are wanting to use enhanced linked mode or platform services controller replication, you do not want to use the embedded option). Click “Next”.
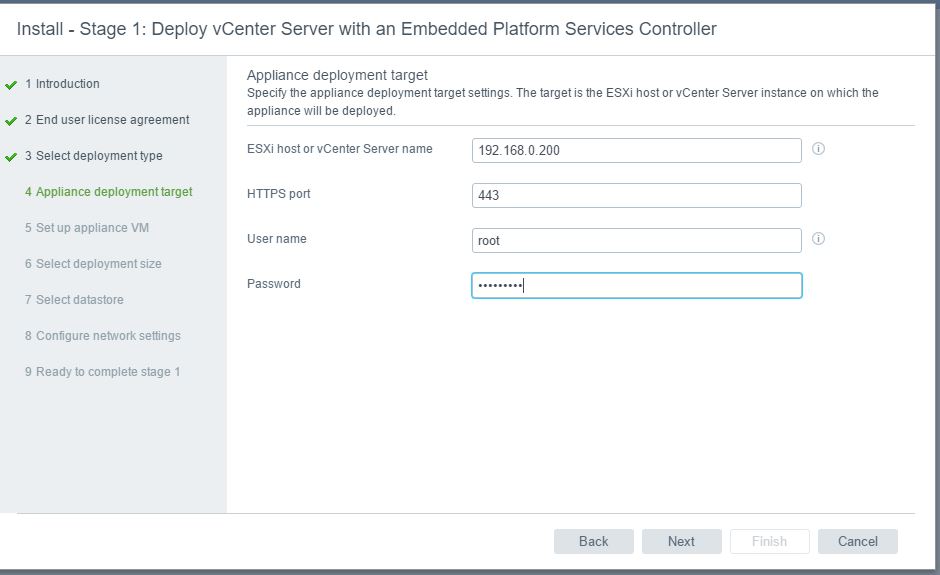
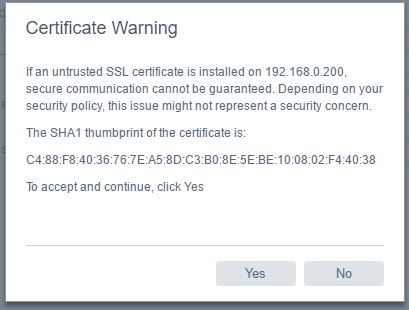
7. Now we get to use the spreadsheet we filled out earlier. Use the information from the spreadsheet to answer the following questions. Obviously you don’t have to use the spreadsheet and can simply answer the questions as they appear. The spreadsheet just allows you to be ready for the prompts. So the first prompt asks us for the target server information. Fill out the information and click “Next.” You will get prompted with a Certificate Warning. Click “Yes”.
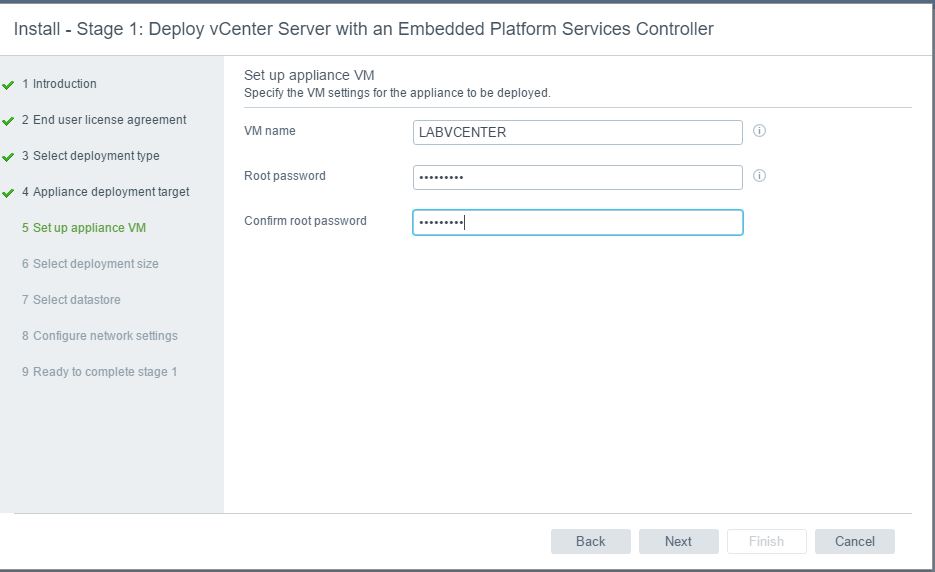
8. Next you are prompted to setup your Appliance name and root password. Fill in the information and click “Next”
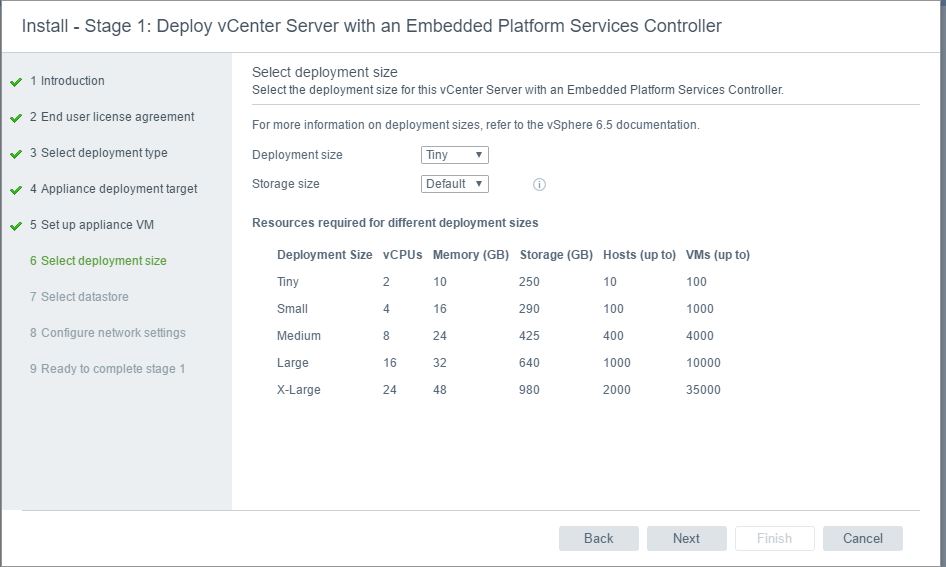
9. Next you are asked to size your deployment. Since this is for demonstration purposes I will choose the “Tiny” option. Pick the option that best suits your environment and what you expect your environment to eventually scale to. Click “Next”.
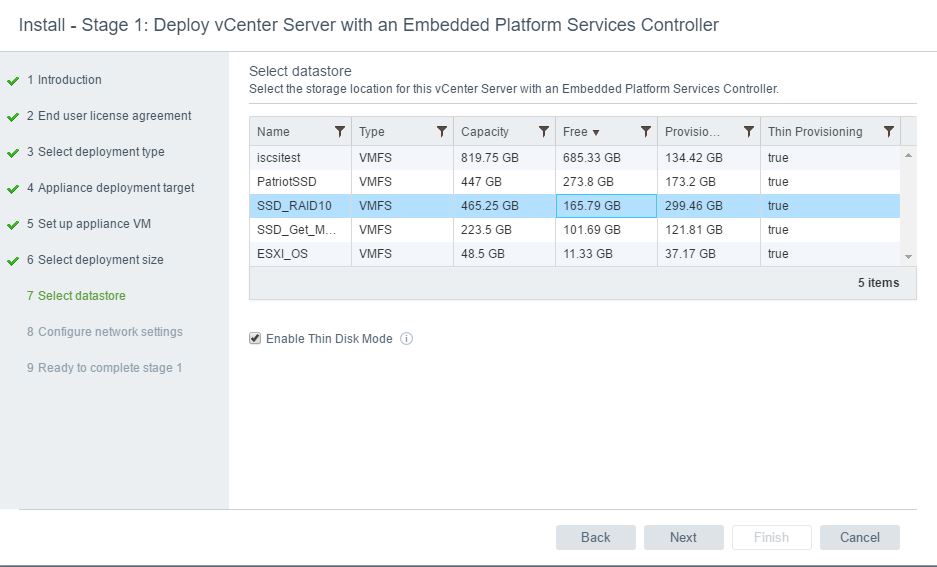
10. Select the datastore that you want to install the disk files for your appliance. Select whether you want to thin or thick provision the disks and click “Next”. In my example I am choosing to thin provision my disks.
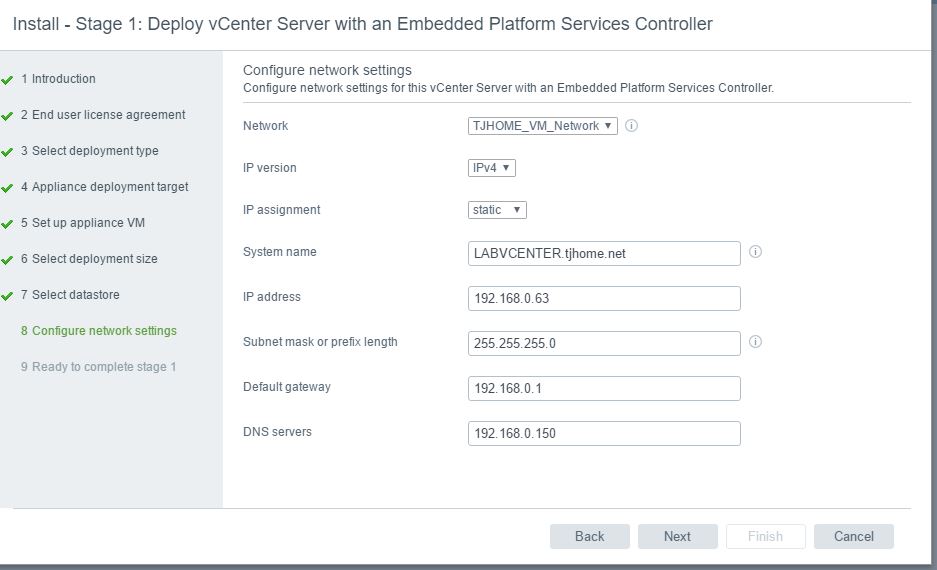
11. Fill out the Network Settings Information. Click “Next”.
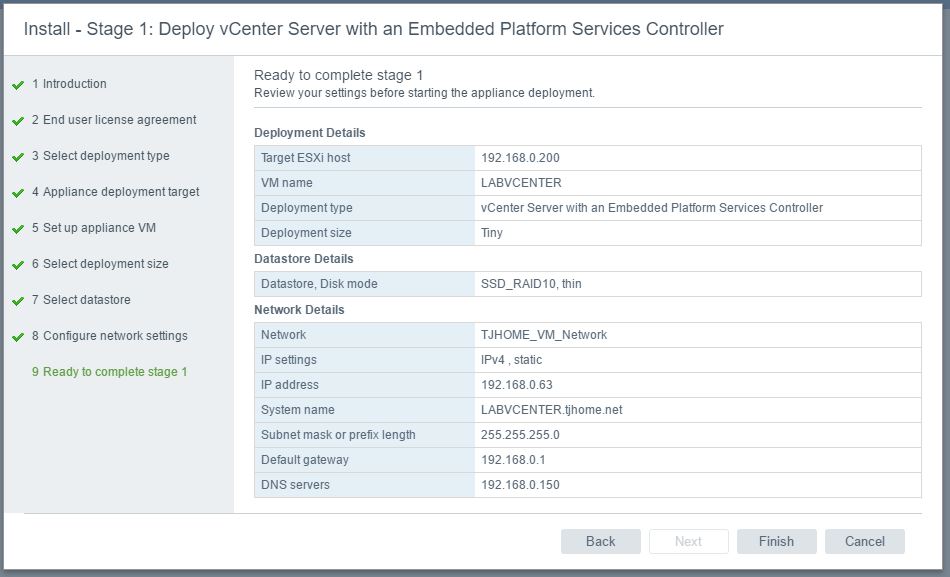
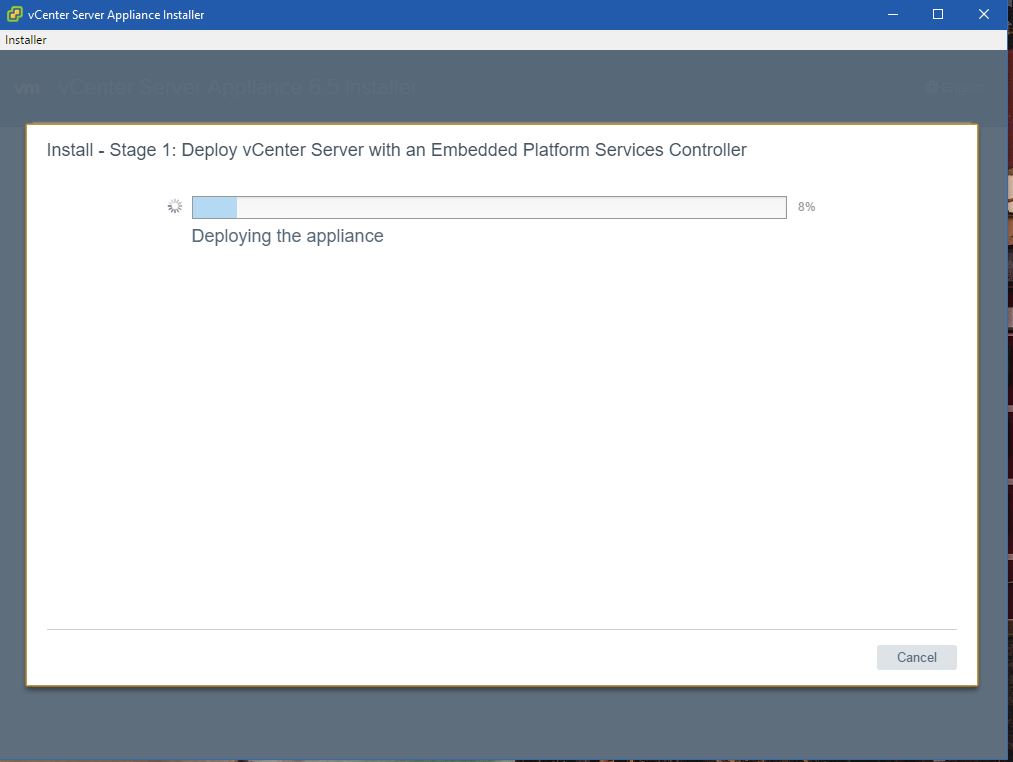
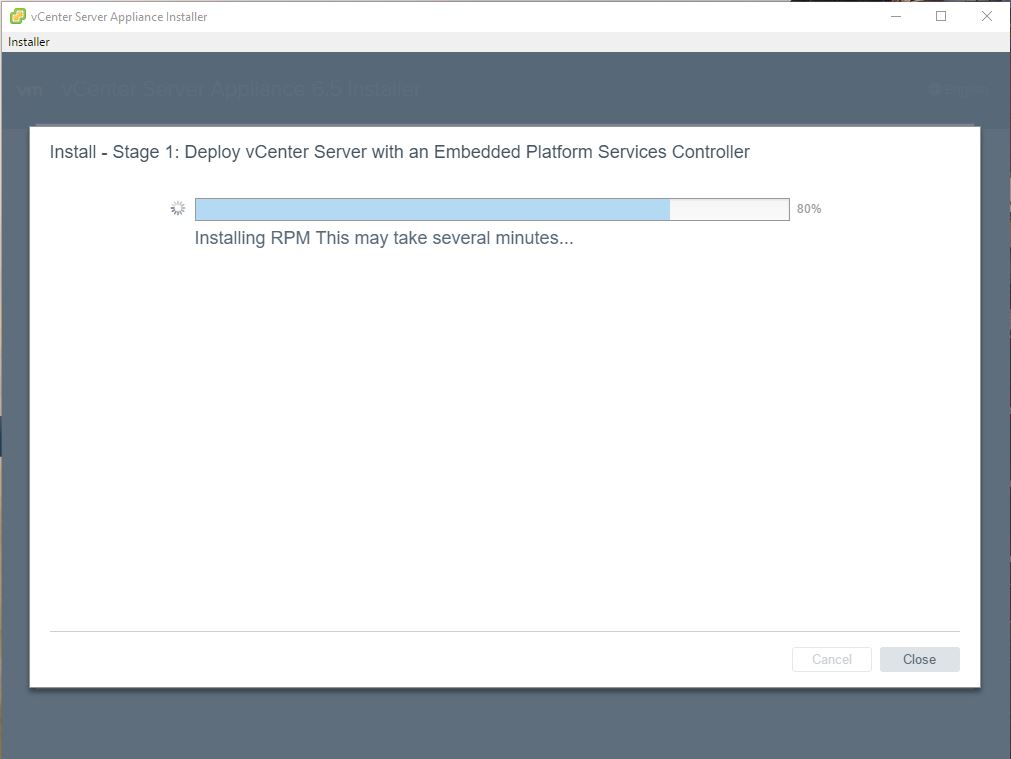
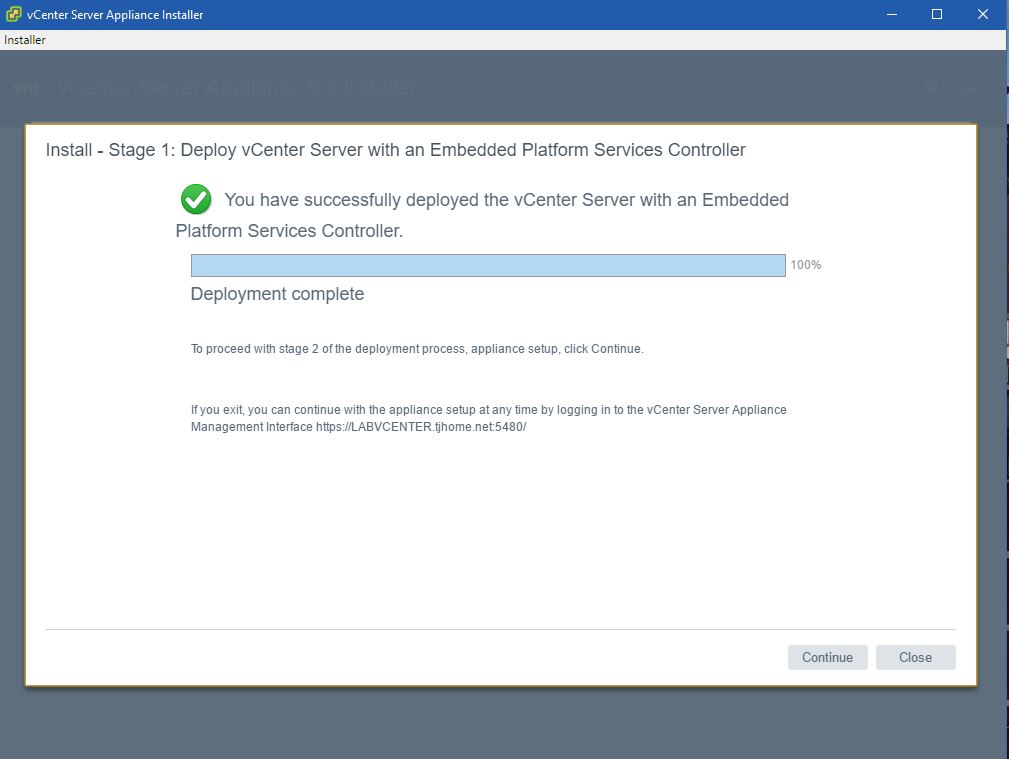
12. Review your information and click “Finish” to complete Stage 1 of the deployment process. The process of actually deploying the appliance will begin. The installation screen will move through several stages, with the final stage showing that “You have successfully deployed the vCenter Server with an Embedded Platform Service Controller.” Click “Continue.”
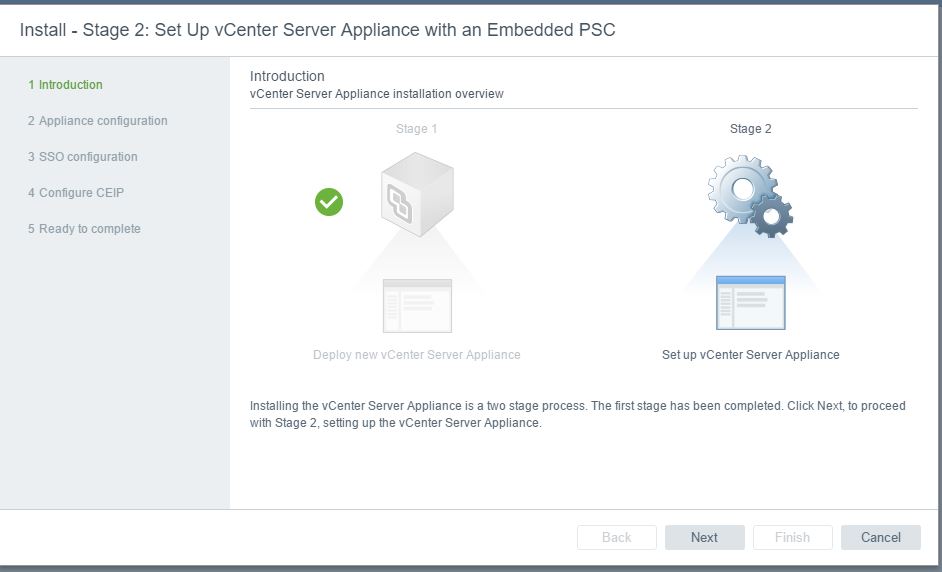
13. You will be prompted for the “Stage 2: Set Up vCenter Server Appliance with an Embedded PSC” screen. Click “Next”.
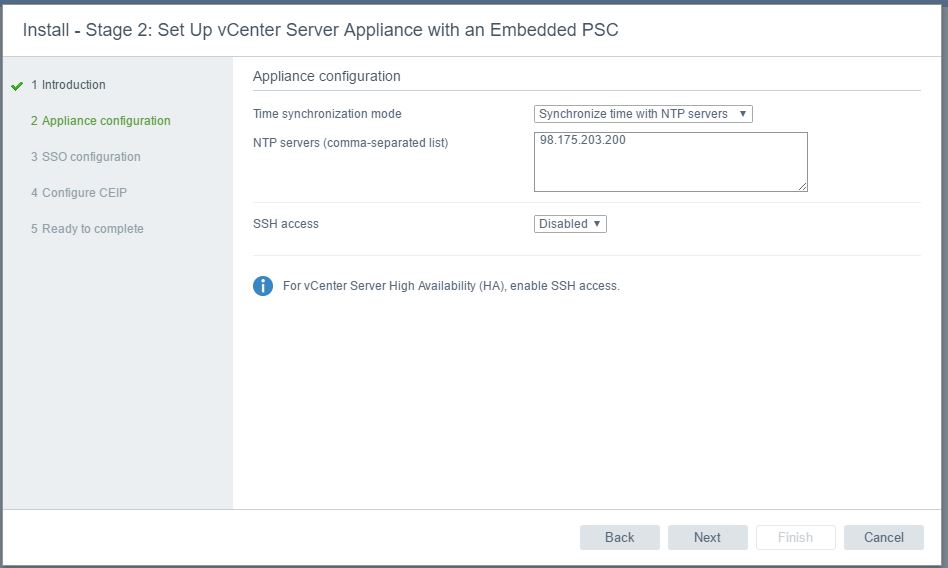
14. Fill in the NTP server information. Click “Next”
15. Fill in the SSO domain Information. Click “Next”

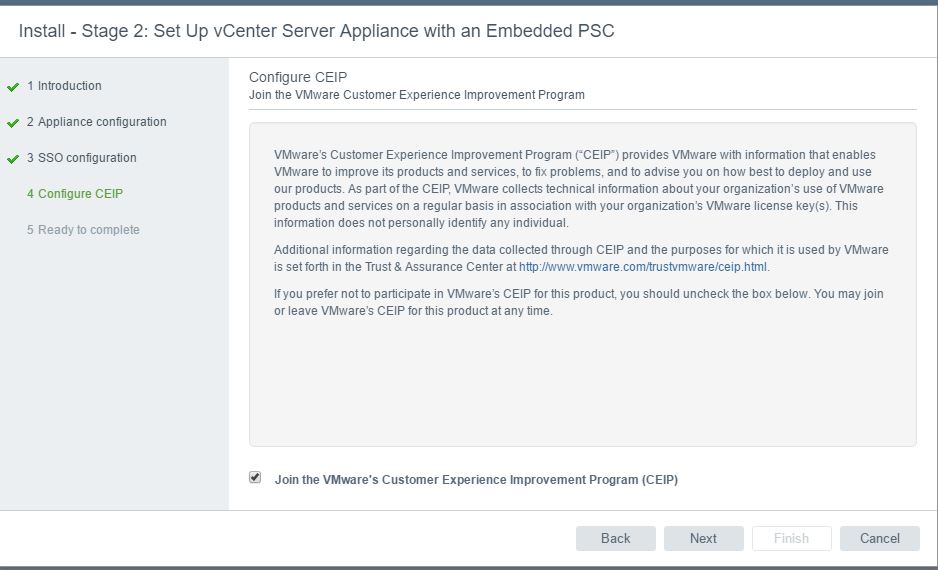
16. Check the box if you would like to join the VMware customer experience Improvement Program. Click “Next”.
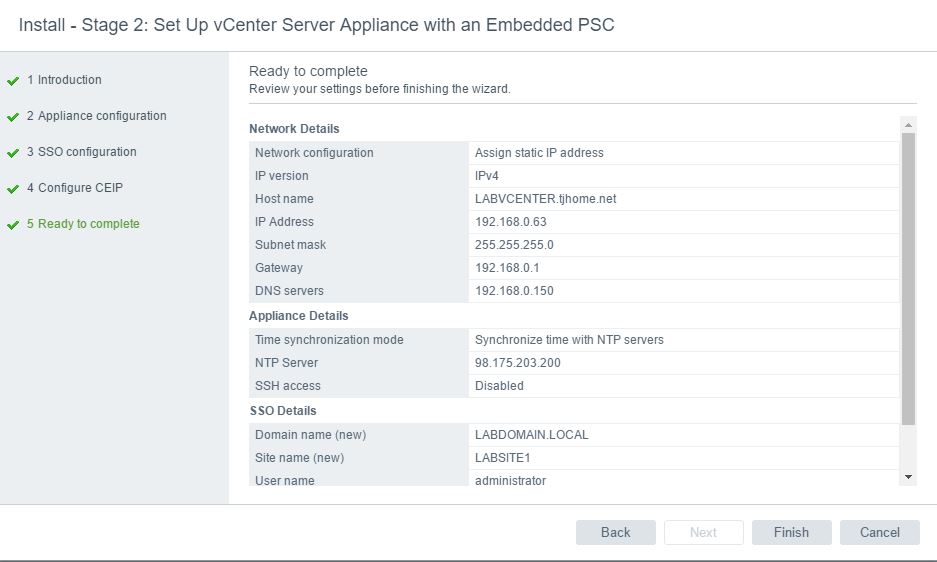
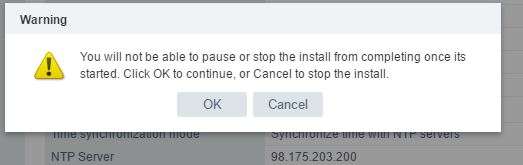
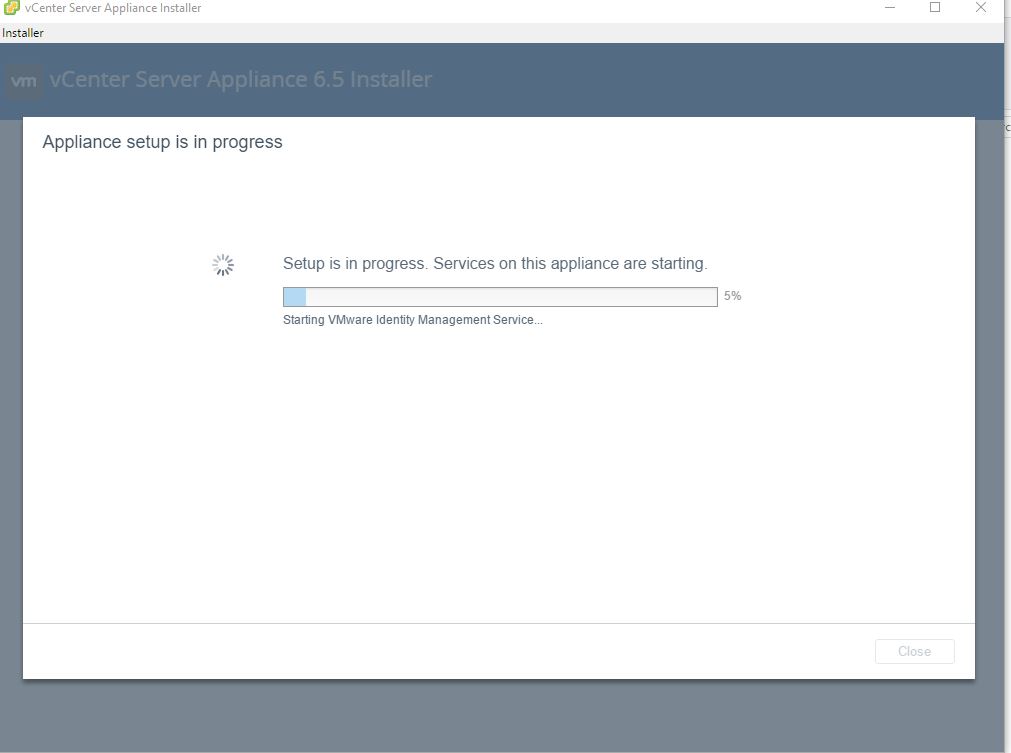
17. Review your settings and click “Finish”. You will receive a warning about not being able to pause or stop the installation once it’s started. Click “OK”.
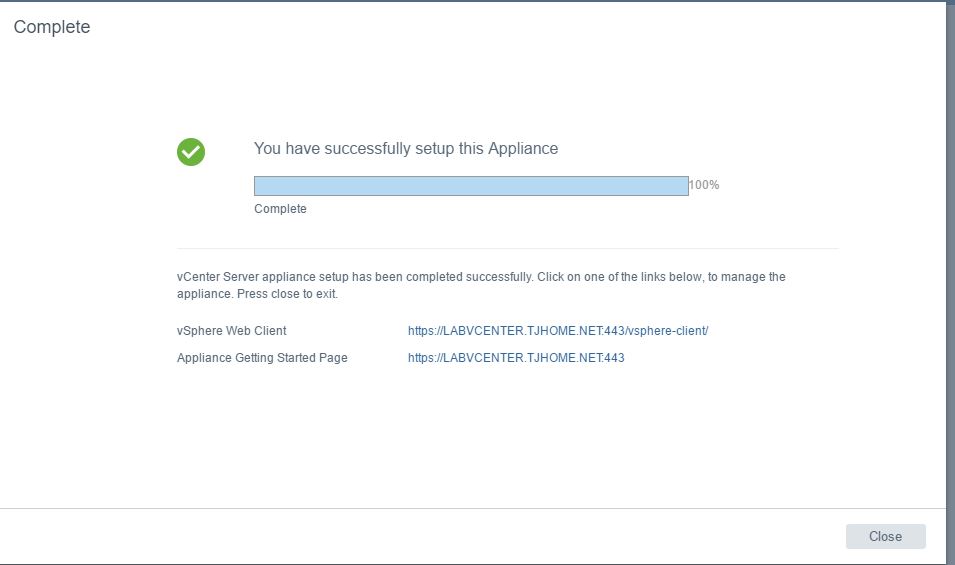
18. When the install process completes, you will be greeted with a “You have successfully setup this Appliance.” prompt. You’re also given links to navigate to your new vCenter server. CONGRATULATIONS, you have deployed the vCenter 6.5 appliance. Click “Close”.
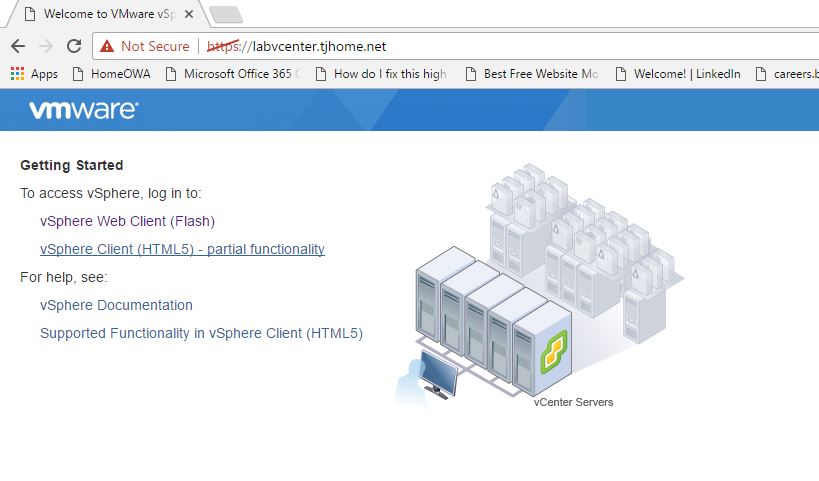
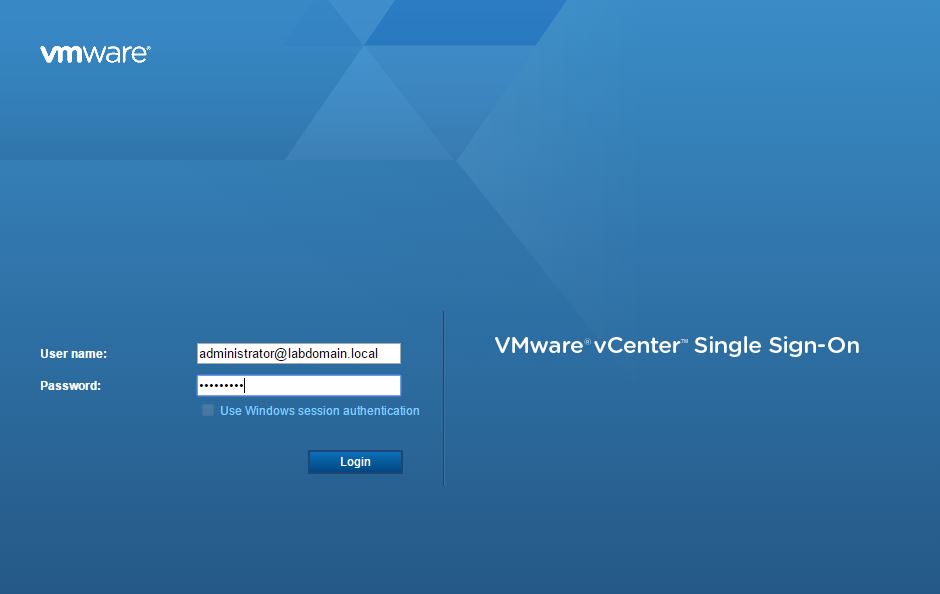
19. So if we browse to the address we will get prompted with the “Getting Started” page. For vCenter veterans you will notice that we login using the vSphere Web Client, but you will also notice the new vSphere HTML5 client. For demonstration purposes, I will first log in to the vSphere Web Client.
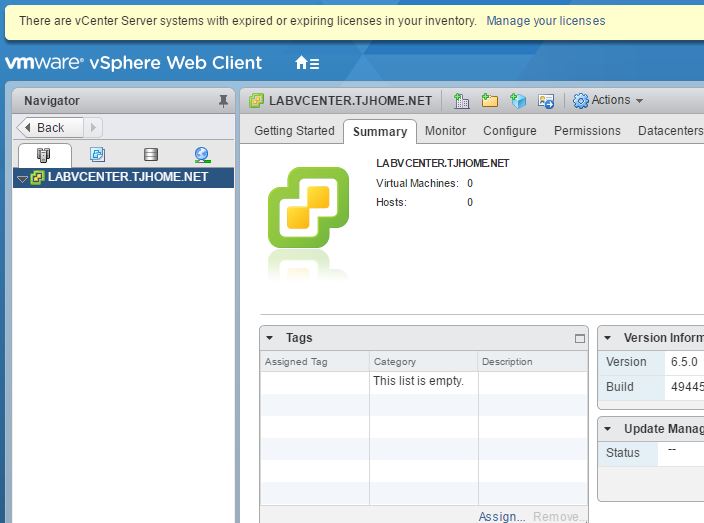
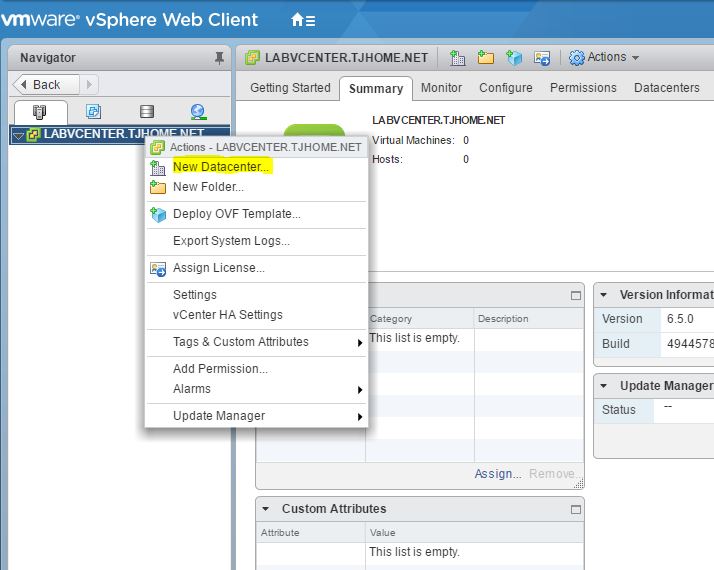
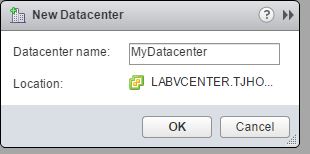
20. Now that we are logged in, I will go ahead and add my ESXI Host that we created in the previous blog to this vCenter. First we will need to create a DataCenter. “Right Click” on the vCenter server name and choose “New Datacenter”. You will be prompted to name your DataCenter. Give your datacenter a name and click “OK”
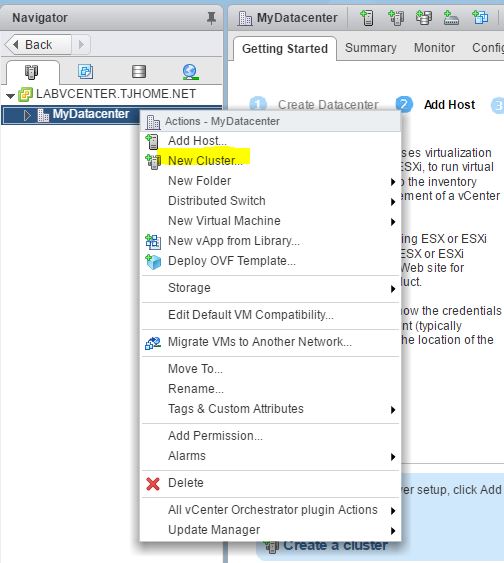
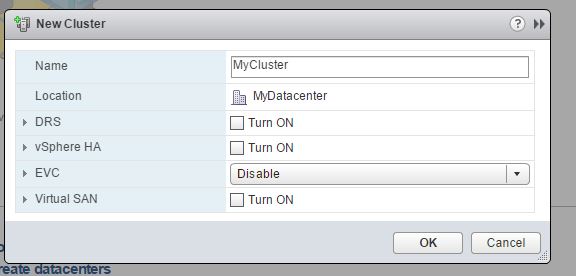
21. At this point, we could add our host directly underneath the DataCenter. However, in an enterprise environment we will want to create a cluster first. A cluster is required to take advantage of features such as VMware HA and DRS. Right click on the DataCenter and select “New Cluster.” You will be prompted to name your cluster. You will also see a number of other options to configure DRS and HA. For this example, we are not configuring these functions, but know in almost all enterprise environments we would want to enable these functions. We will address more specifics in regards to this in future posts, but remember that you can always go back and turn on these functions later, so it’s not a one shot thing. So give your cluster a name and click “OK”.
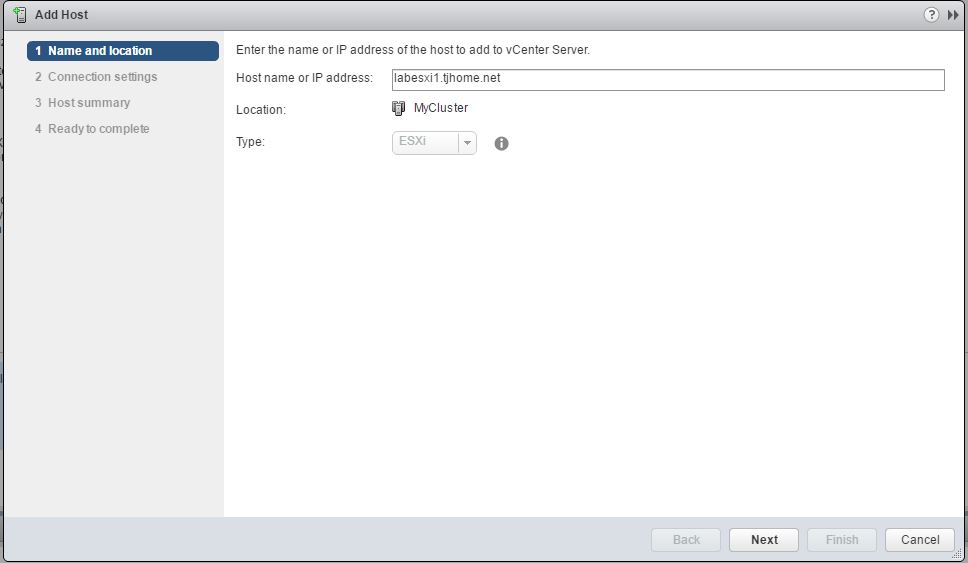
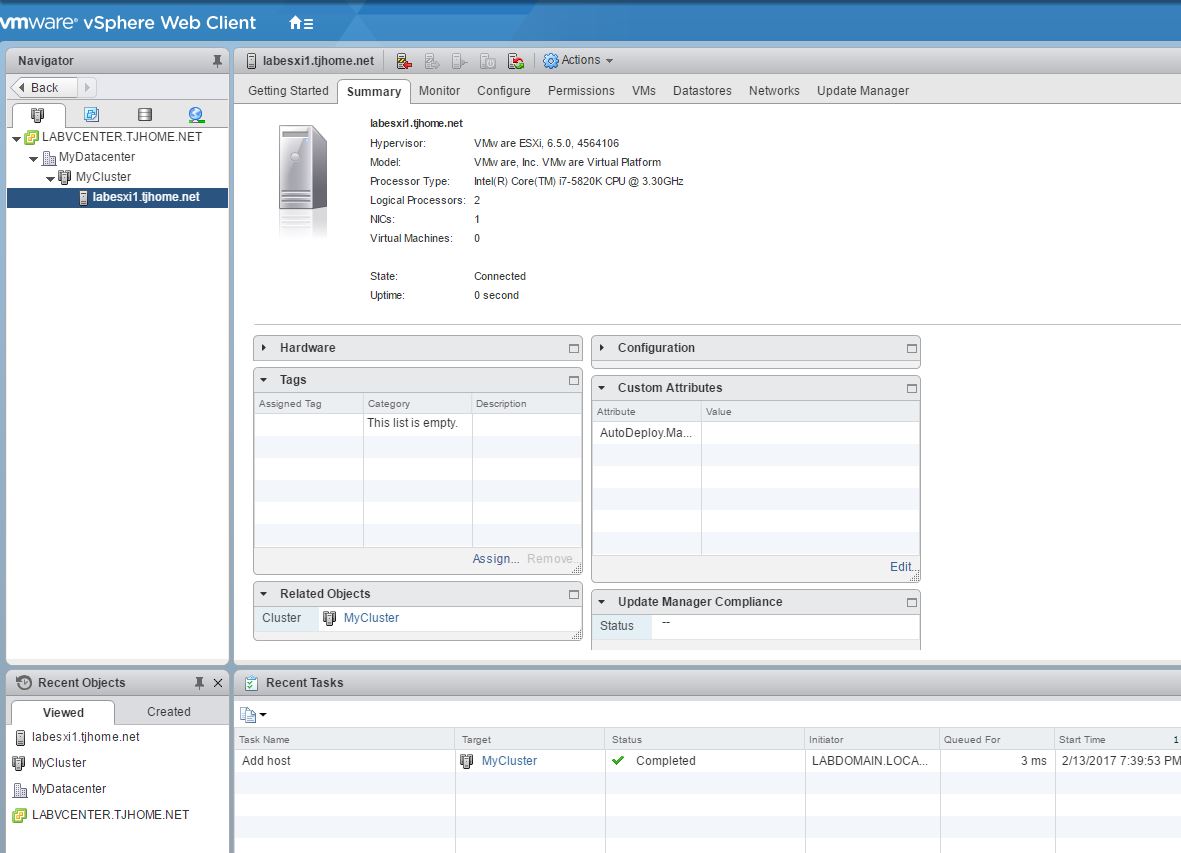
22. Now “Right Click” on your cluster and choose “Add Host”. Enter the name of your Host and click “Next”

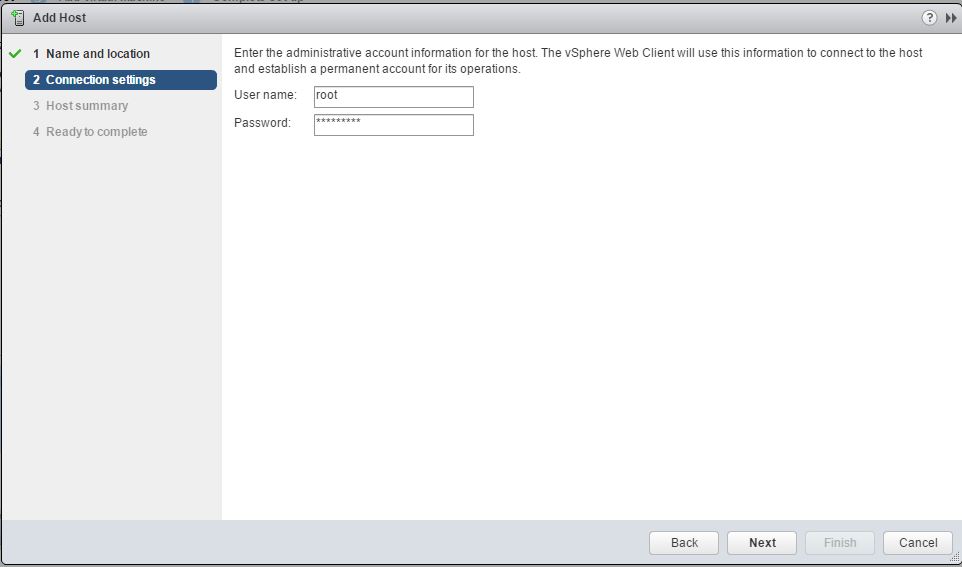
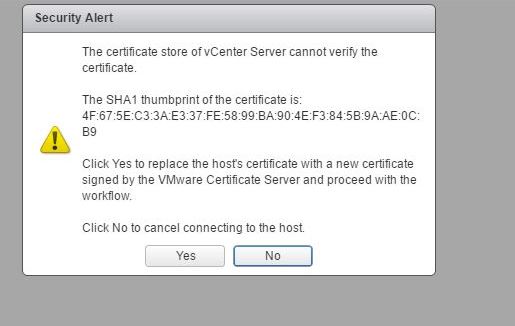
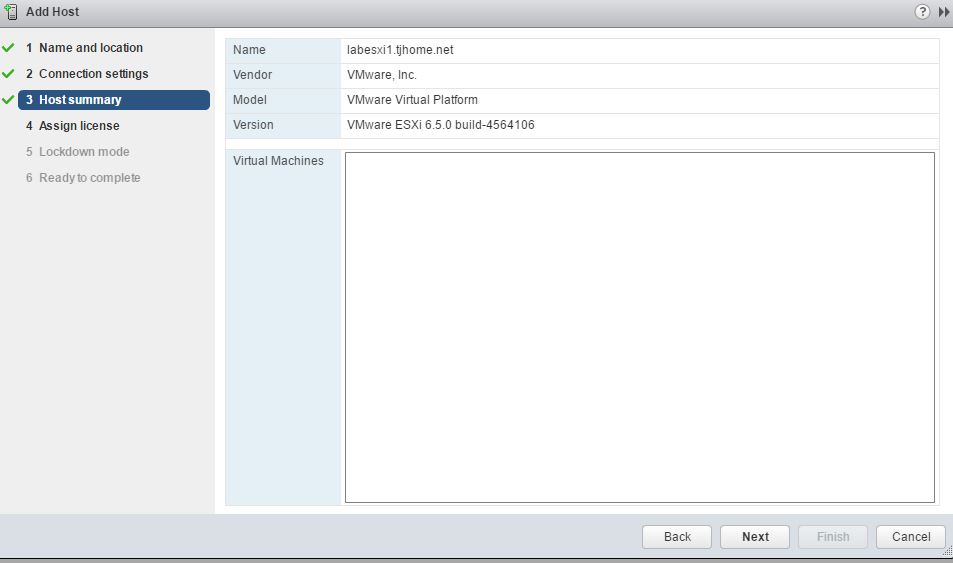
23. You will be prompted for the root username and password for host. Enter the information and click “Next”. Click “Yes”, when prompted for the thumbprint. Click “Next” on the host summary screen.
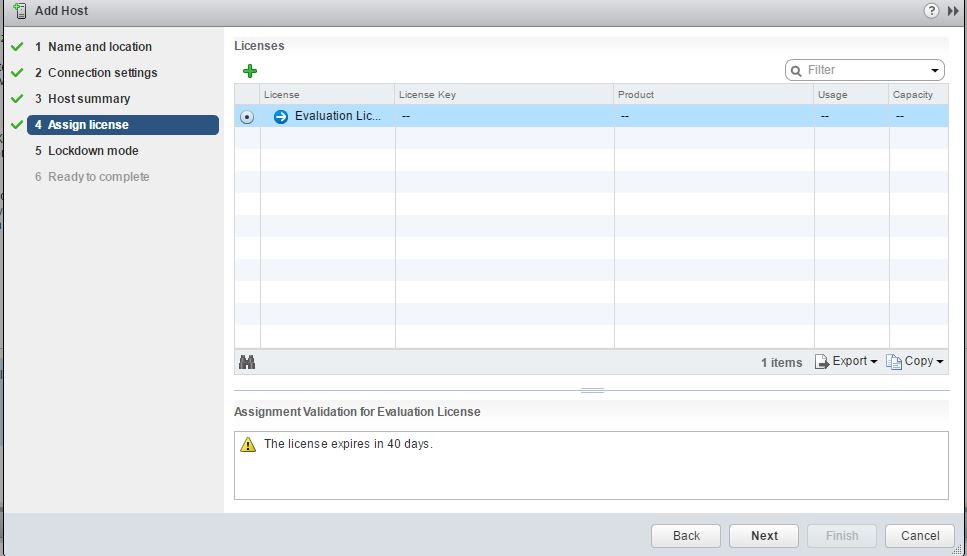
24. Next you will be prompted to assign licenses. Currently I’m using an Evaluation License, but you can assign full licenses during this time if you would like. You can always go back and assign licenses later. I will click “Next” since I’m using the evaluation license.
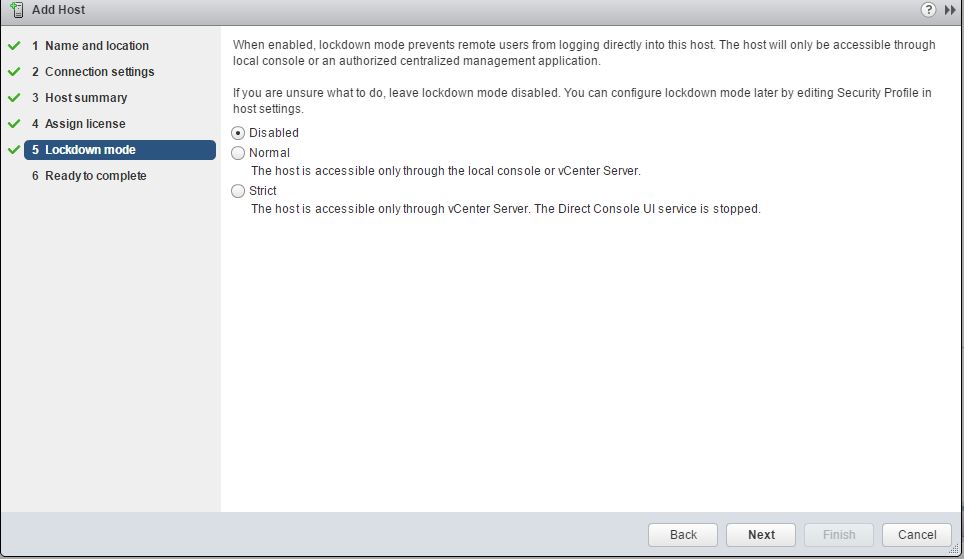
25. The following screen allows you to configure lock down mode on a host. This allows you to restrict access to the host to where someone can only access the host through V-Center and not login directly to the host. For this example, we will not configure lockdown mode and leave the option “Disabled”. Click “Next”
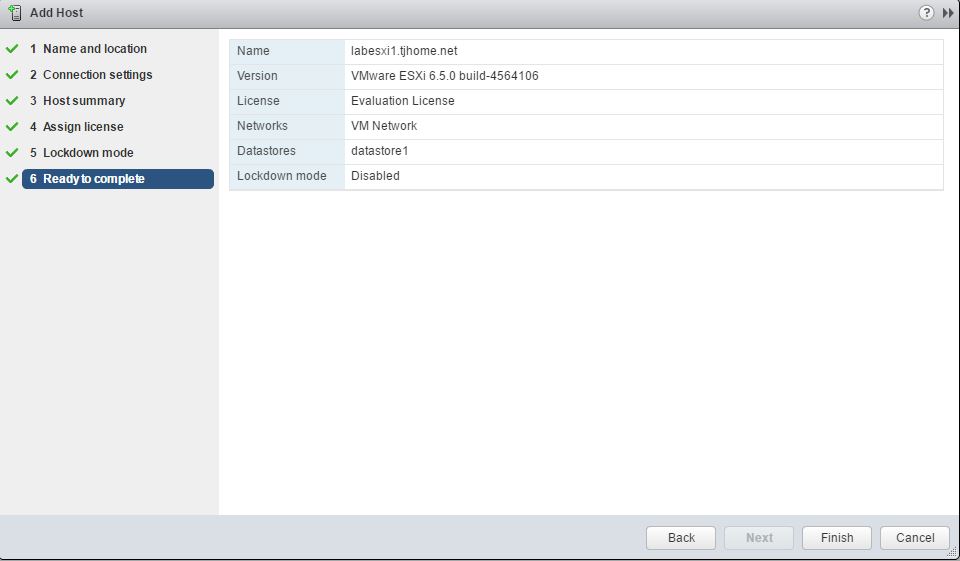
26. Click “Finish”, to complete the process of adding the host.
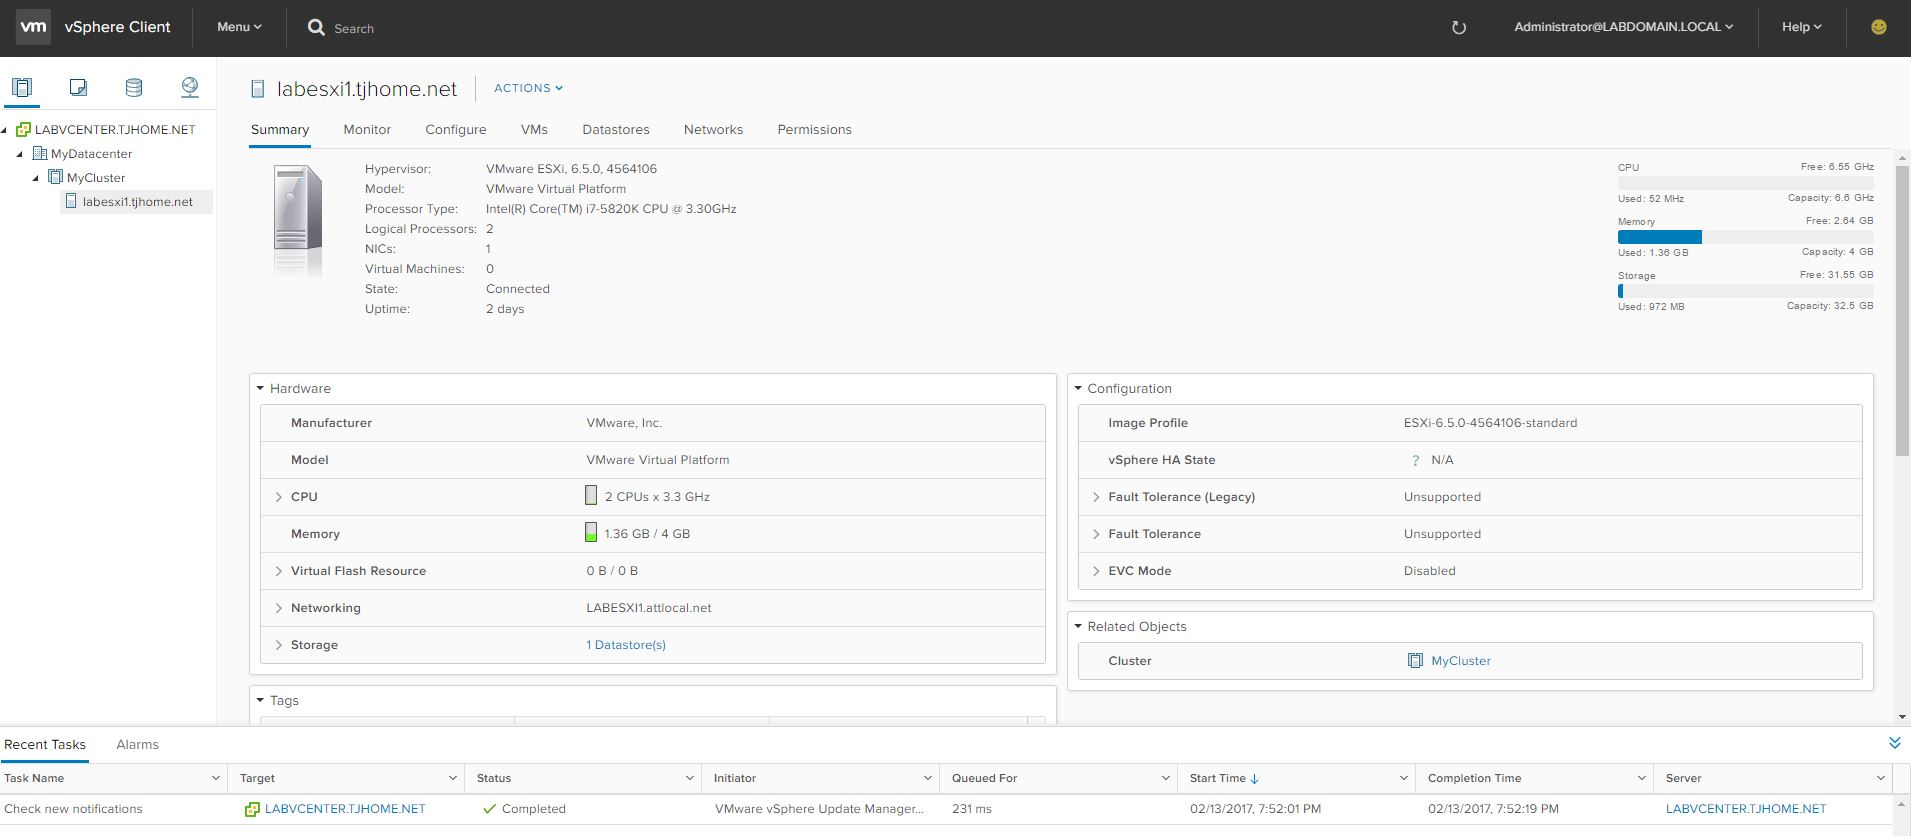
27. Finally, going back to the Getting Started screen, you can always log into the HTML5 client.
This completes the general setup of a new vCenter 6.5 appliance. There are worlds more to setup,explore and configure within vCenter. This is just the basics to get you up and going and we will certainly get into more of the details in later posts. Hopefully, you all found this helpful and thanks for reading.